
This is a yeast bread that (oddly enough) does not have to sit and rise. It's a somewhat time consuming process still, though, because the dough must be cut into squares and stacked. But oh my dear is it worth it! Dare I say this is one of my favorite things I've ever made? I think so.

Sitting there in all it's glory with glaze still
dripping off of it...sigh
I'm sure you could also substitute other fruits for the apples depending on what you have on hand. Next time I might try peaches.
Apple Fritter Bread adapted from Flour Me with Love
Dough
3 C flour
1 package instant yeast (it also might say "bread machine yeast")
1/4 tsp salt
1/2 C brown sugar
1/4 C water
1 egg, beaten
3/4 C milk
1/4 C butter
Filling
6 apples, peeled and diced
1 Tbsp lemon juice
1 C brown sugar
1 tsp vanilla
2 Tbsp butter
1 Tbsp cornstarch
Glaze
1 Tbsp butter, softened
1 tsp vanilla
3/4 C powdered sugar
3 tsp half and half (or milk)
Preheat oven to 350 degrees and grease 9x5 bread pan. In skillet, cook all "filling" ingredients until mixture is thickened. Set aside to cool.

Apples peeled and ready for dicing

Thickening the mixture...
Heat milk (from "dough" portion of recipe) in a small saucepan until it bubbles. Remove from heat and add butter. Stir until melted and combined. Set aside to cool.
Put flour, yeast, brown sugar, and salt into bowl of a stand mixer and mix well by hand. *Note: I was very confused by the orignal recipe, because normally you have to let yeast bread rise. Not the case with this bread. Just follow the rest of the recipe as stated and then you can immediately stick the prepared bread in the oven. No rising time required!*
Add water, egg and milk/butter mixture to flour mixture. Make sure that the milk/butter mixture has cooled enough so that it doesn't cook the egg!
With the hook attachment in place on your stand mixer, mix dough until it forms a ball. Knead in stand mixer for an additional 5 minutes.
On well floured surface roll dough out into rectangle shape. The dough should be fairly thin after being rolled out. Evenly spread apple mixture over dough, making sure to spread mixture evenly.

Well, it's sort of a rectangle.

Cut dough into even squares (I got twenty). To make this easier I used a pizza slicer.
Carefully stack dough squares onto each other, forming 5 piles. Using a spatula makes this SO much easier!

Place piles of dough into prepared pan.

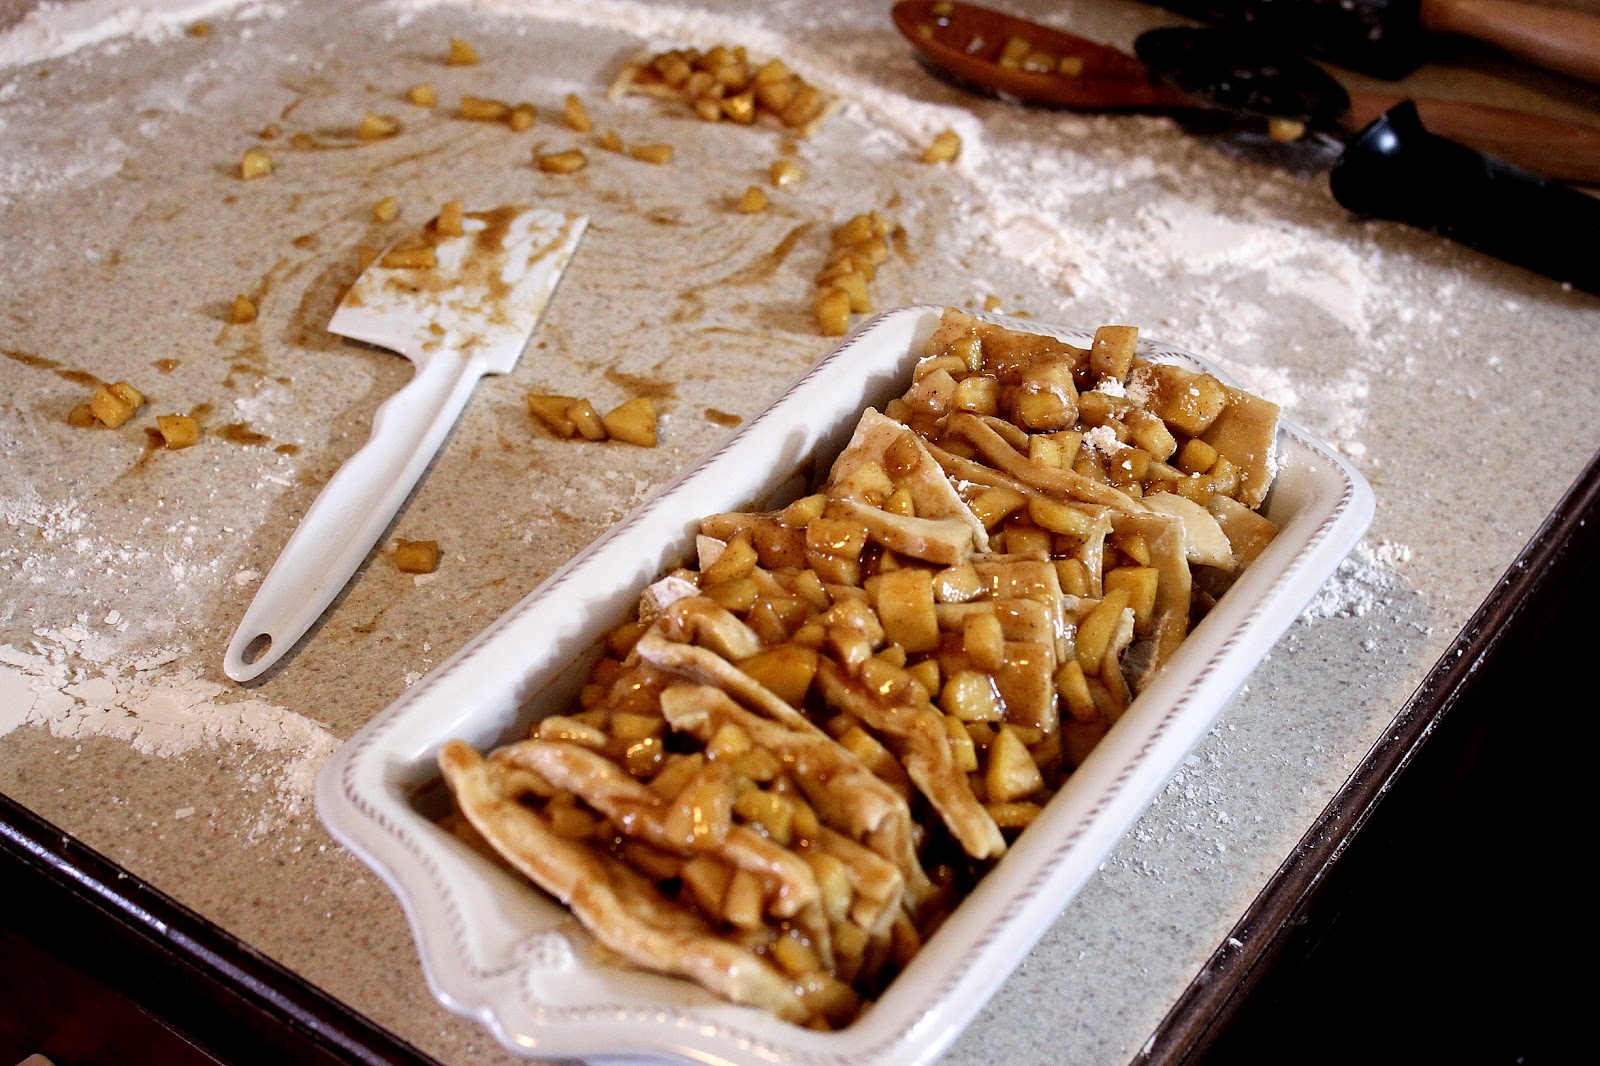
Ready to bake!
Bake 45-50 minutes or until golden brown. The only tricky part is making sure the middle is done without getting the edges of the bread overly done.
I'd like to also note that you need to make sure you don't leave an additional oven rack too close above your bread like I did....

Oops!
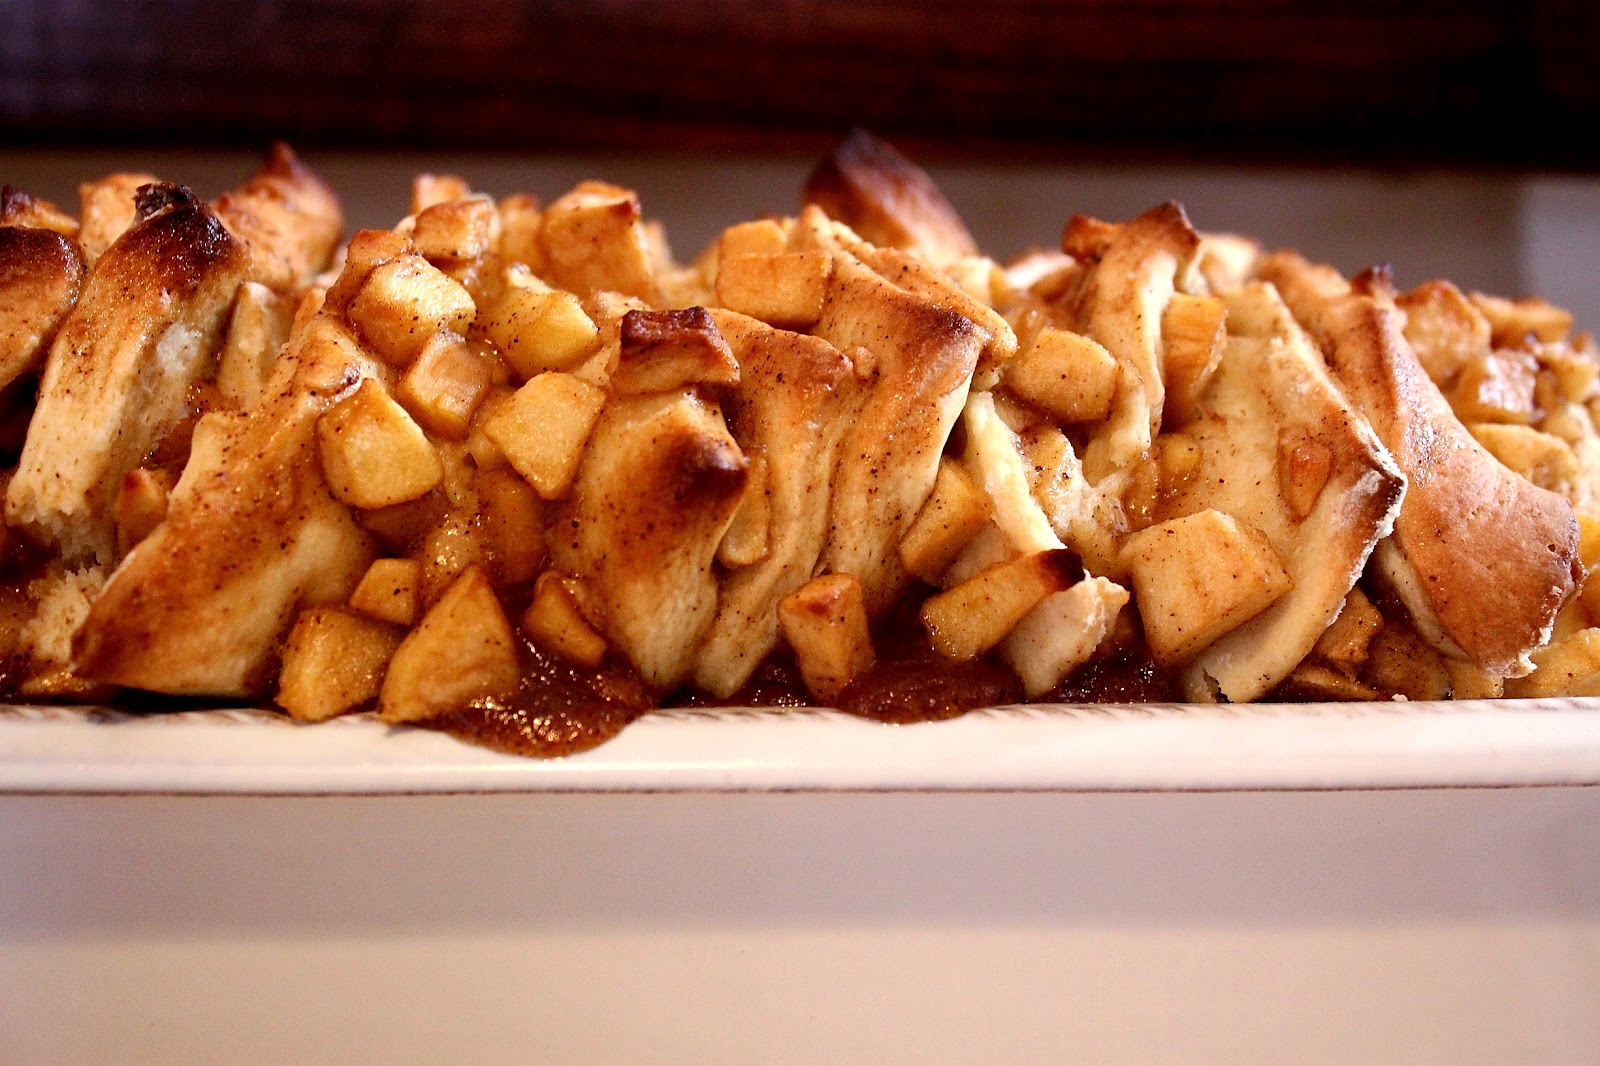
Delicious. Check out that cinnamon and brown
sugar bubbling over the sides...
Immediately remove bread from pan.
Mix butter, powdered sugar and vanilla in a bowl (*make sure your butter is soft enough or it won't combine well). Gradually add in half and half until you reach creamy consistency.
Pour on glaze and allow to set for a few minutes.

Drip, drip, drip....
Enjoy! This stuff is DIVINE when eaten warm :)

Pulling it apart....

or just taking a fork and digging in!
If you want to store the bread simply wrap in plastic wrap and then place in a zip loc bag.
No comments:
Post a Comment
I LOVE hearing from those who stop by to take a gander at the blog! Feedback and comments of all kinds are always greatly appreciated :)
Love,
Morgan