Showing posts with label bread. Show all posts

Friday, September 28, 2012

Pumpkin Cream Cheese Bread with Brown Sugar Pecan Streusel

Geez, do you think the title is long enough?  I was trying to think of a way to pare it down, but it didn't seem fair to cut out the cream cheese part or the very descriptive streusel part.  That's what makes this pumpkin bread different from your basic, run of the mill (yet still delicious) pumpkin bread.

My mom always made pumpkin bread from, well, as long ago as I can remember.  You knew fall had officially arrived when the first batch was made.  Even when we were too young to help with the baking my sister and I would gather in the kitchen because we knew we would be given one of the beaters to lick.  And I've been obsessed with the stuff ever since.  I'll eat it for breakfast, dessert, dinner, as a snack...

She has made this pumpkin bread so many times that the cookbook she uses is permanently creased and falling apart on the recipe page....splatters of dried batter everywhere.  I love seeing those worn and stained pages almost as much as I love the recipe itself.  It conjures up all kinds of warm and fuzzy childhood memories.

But alas I didn't have that beloved recipe two nights ago when I set out to make some for myself.  So what's a girl to do?   Well, I turned to everyone's good friend Google and sought out every type of pumpkin bread recipe I could find.  I combined aspects of two recipes to come up with my final version below.

I was a little apprehensive about adding all these new things into the bread.  Sure, cream cheese and pecans are great, but did I really want them messing up a classic?

It turns out I did :)  You can definitely omit the cream cheese, pecans or the streusel if you'd like, but you'll be missing out if you do.


I know it's not officially fall yet, but since it's been in the mid-50's here in Georgia a few mornings lately I feel like it's okay to pull out the fall recipes.  Here's to fall.....leaves, football, boots, scarves and PUMPKIN RECIPES!!!


Thursday, September 20, 2012

Lemon Poppyseed Bread with Lemon Glaze

Maybe I'm alone, but I've always wondered just why poppyseeds are so often added to any type of lemon flavored bread.  They don't really have a taste (not one that I can detect anyways) and they don't enhance the texture of the bread.  But I'm not complaining because I love the way they look and I love the little crunch you get from each of those little seeds.

I've always had a soft spot for lemon poppyseed muffins, but I've never had them in loaf form and thought it was time to concoct such a recipe.  The below recipe is quick and easy to throw together because it is based on a boxed cake mix.  The bread is also pretty sweet which means I enjoyed it for both breakfast and dessert :)  Okay, and maybe for a mid afternoon snack too.


I will say that this bread is very dense and moist.  It doesn't have that fluffy texture that you get in a sandwich bread.   But that's what I was going for so it didn't disappoint me in the least. 

*Don't worry if your loaf "collapses" after you pull it out of the oven.  Mine was really high and shrunk back down even though the bread was cooked through.  That's to be expected, so don't think you did anything wrong.

Friday, September 7, 2012

Banana Bread Brownies with Brown Butter Frosting

Bananas are unfortunately on my list of least favorite foods.  It's not that I don't like the flavor, but rather it's the texture of the them that bothers me.  They're mushy.  Mushy and gooey.  They kind of remind me of clumpy baby food to think of it.  [insert slight gag reflex]

Oddly enough I love banana flavored foods though, particularly banana flavored desserts.  I've always been a fan of banana bread, so when I came across these banana bread brownies topped with a brown butter frosting I couldn't pass up the opportunity to take them up to a family gathering at Lake Burton.

I wasn't exactly sure what the expect though....would they be super sugary and dense like your typical brownies?  Or would they still have more of a standard bread-y texture?  I was fine with either, especially since the brown butter frosting was involved!  I had never made a brown butter frosting, but was surprised at how easy it was to make.  You just have to be careful to watch it, lest your brown butter frosting become burnt butter frosting.  Yikes!

These turned out to be slightly sweeter than your average loaf of banana bread without being too dense.  I was a little worried there wouldn't be enough frosting, so I did 1 1/2 times the amount listed in the original recipe.  I was so glad I did because it turned out to be just the perfect amount.  No one wants the tease of a too thin layer of frosting after all.


And since you don't have to wait for the brownies to cool to frost them this whole dessert comes together from start to finish in under an hour.  While it's no secret I love spending hours upon hours in the kitchen, you don't always have time to stand over an oven for an entire afternoon.  Another plus is that this frosting can be made all in one bowl, no stand mixer required.....less dishes are always a good thing!

Hopefully you'll go bananas for these banana bread brownies too :)  Enjoy!


Thursday, September 6, 2012

Glazed Doughnut Muffins

A few weeks ago a Dunkin Donuts opened up not too far from where the hubs and I live.  Every time I pass it I have to muster up every bit of self control I have not to pull through the drive-thru and order up a mixed dozen.  Red velvet?  Yes please.  Chocolate Frosted?  Yes again.  Plain glazed?  You bet.  I'm pretty sure I've never met a doughnut I didn't immediately make friends with.

But what about doughnut muffins?  I came across the recipe for these on one of my favorite blogs, Sweet Pea's Kitchen.  I've tried several other recipes from Christina and have always been blown away, so I figured I'd give this one a go.  I wasn't exactly sure how it would be possible for a muffin to taste like a doughnut, but I took a leap of faith based on all the rave reviews I read.

I was making these muffins for my Sunday School class, so I made them the night before to be on the safe side.  That way if they were a flop I would still have a few hours to throw something else together the next morning.  What can I say, I'm a bit of a worry wart and would always rather be safe than sorry!

These muffins turned out tasking much more like doughnuts than I had anticipated.  I loved the subtle brown sugar and cinnamon flavor they had and was pleasantly surprised that the glaze that topped them didn't make them so sickeningly sweet that they seemed like a rich dessert.


I was a little perplexed as to why my glaze never set up like the one's in Christina's photos (mine was more clear and never took on that hard/white appearance even after it had dried), but it was delicious nevertheless.

These muffins would be a great unexpected addition to any breakfast or brunch, and they are especially a new favorite of mine since they can be prepared beforehand.   Dare I say these muffins might be able to give Dunkin Donuts a run for their money?  I'll let you be the judge :)


Friday, August 31, 2012

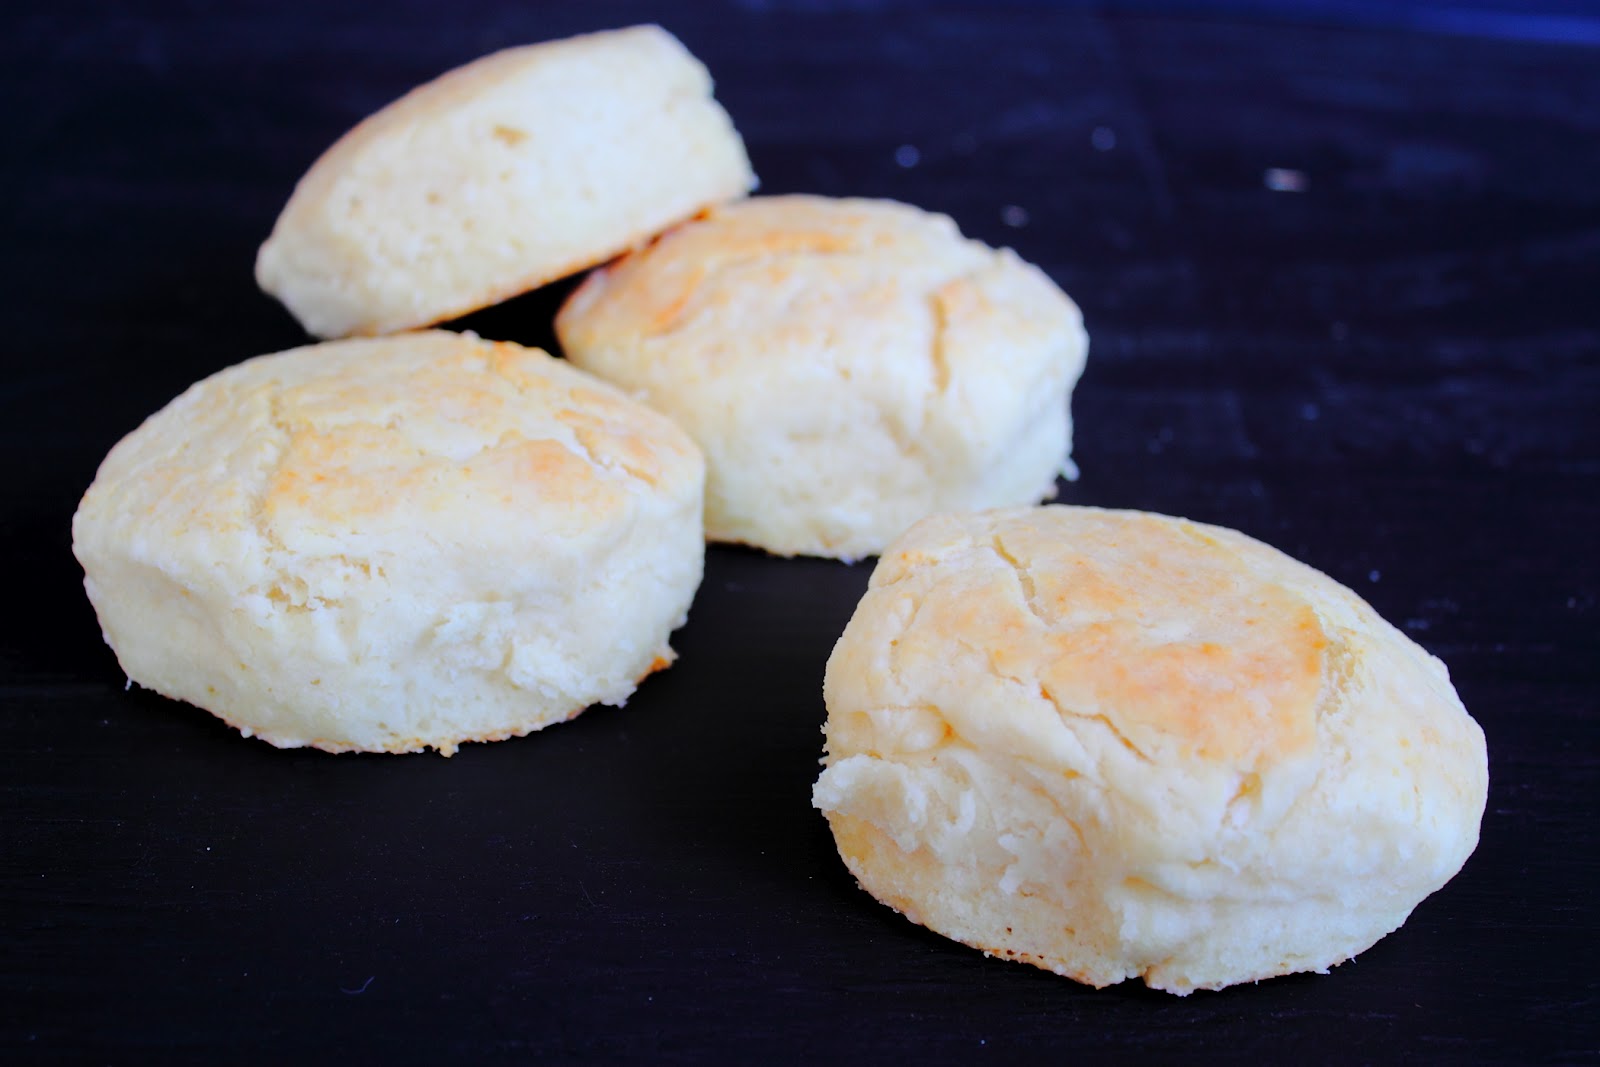
Coconut Oil Biscuits

I have a slight problem when it comes to biscuits.  More of an addiction I guess you could say.  There isn't really anything I love more than to start my morning off with a big, fluffy biscuit.  And it doesn't hurt if that biscuit is hugging an egg and a few slices of bacon.

I've tried several biscuit recipes over the years and have featured several of them here on the blog.  You've got sweet potato biscuits, buttermilk cat head biscuits and then the mile high biscuits.  I love each of those recipes, but when I opened up my pantry doors this past weekend another idea popped into my head.  I recently purchased my first jar of coconut oil (in love) and I got to thinking that surely to goodness you could replace the butter or shortening in a batch of biscuits with this stuff.  Fat is fat after all, right?  Sure butter gives biscuits a slightly different flavor than does shortening, but I didn't think coconut oil would make that big of a difference.  Surely the biscuits wouldn't come out rivaling the coconut flavor of Captain Morgan Parrot Bay would they?

Thick and fluffy.  Just the way I like them.

Nope.  They certainly did not.  What resulted was the softest, most tender biscuit ever.  Ever.

Just make sure that your coconut oil doesn't get too warm and go all liquid on you.  When I pulled mine out of a room temperature jar it had the texture of soft shortening.  It just barely held its shape.  I'm guessing if your oil was in a pure liquid state that you would have a very hard time cutting it into the flour mixture.  If your oil is too soft just stick it in the fridge for a bit to firm up.


Friday, July 20, 2012

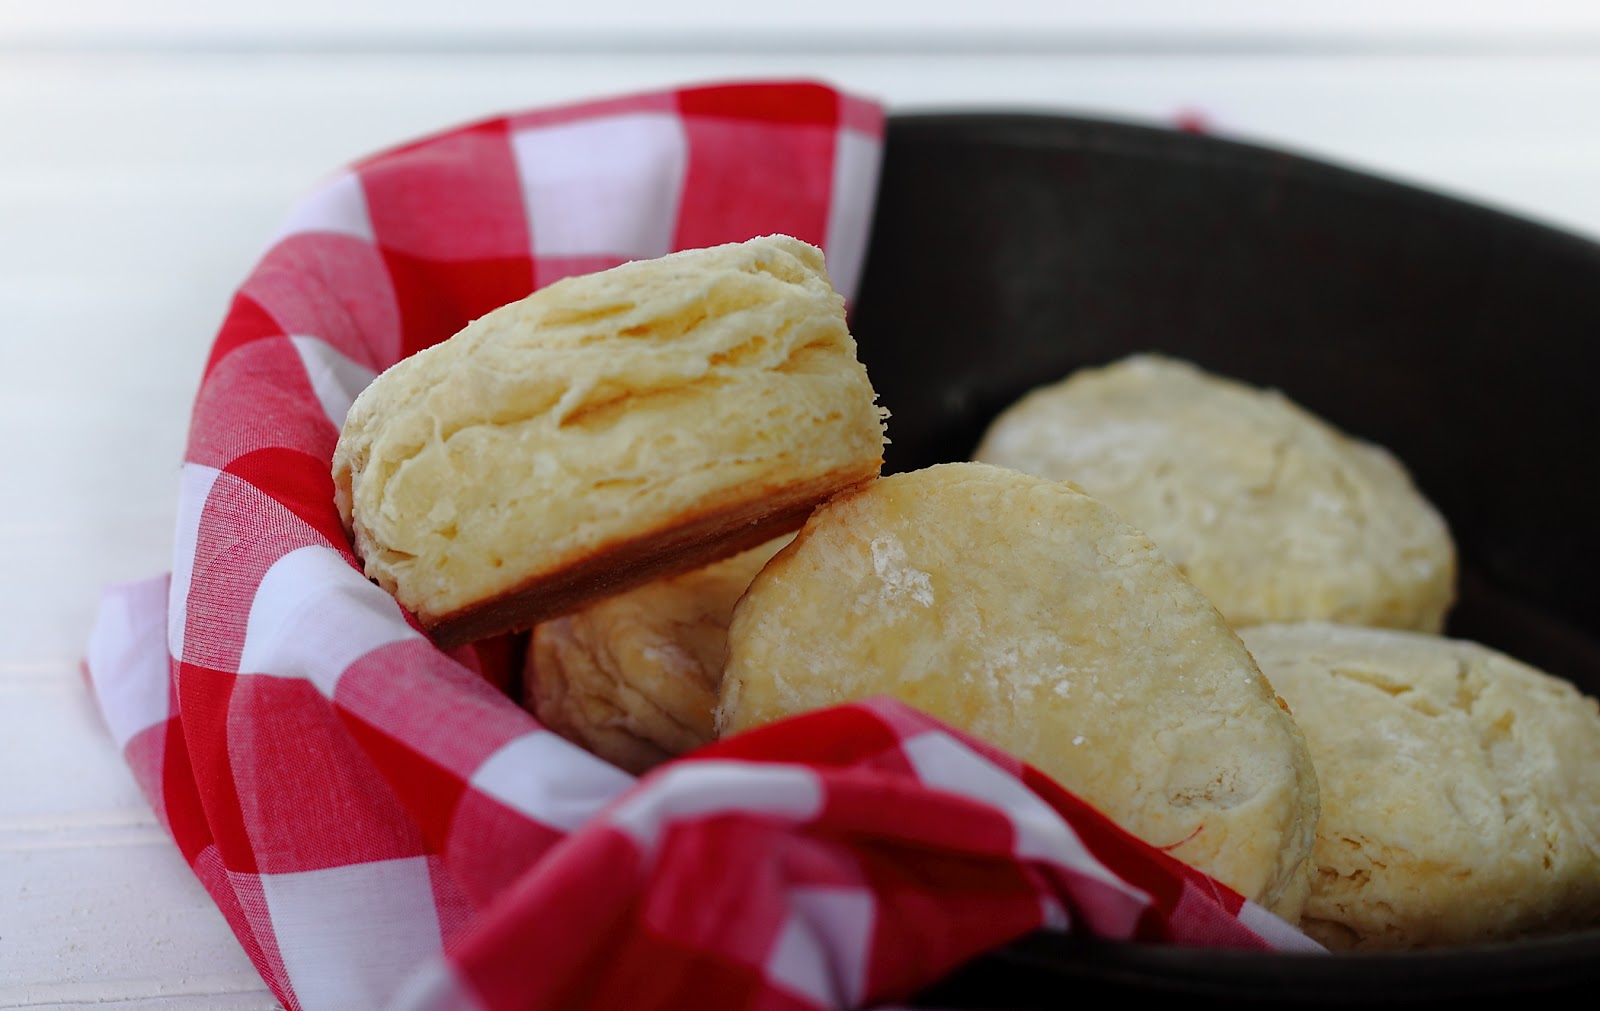
Mile High Biscuits

Every Friday growing up my dad would take me by Stoney's, home of the best biscuit in our tiny little town, for a bit fluffy one all wrapped up in tin foil to keep it warm until I got to school.  I would always get mine plain with just a bit of butter.  Not too much though. (For what it's worth, my taste has definitely changed and I now get one packed with bacon and egg.)

Is it crazy that the most distinct thing I remember about ordering those biscuits at the end of each week was that "desserts" was misspelled on Stoney's menu posted at the drive thru?  It was spelled with only one "s".  [Face-palm] Ugh.

I found these biscuits on (you guessed it) Pinterest.  These are apparently the very famous biscuits from Ruth's Diner in Salt Lake City, Utah.  According to Pinterest these are "the best biscuits EVER".  Well if Pinterest says it then it must be true.

Look at those butter, flaky layers.

I can't put my finger on what exactly about the texture is different, but it is distinctly different from the buttermilk cathead biscuits I posted a while back.  These are a bit sweeter because of the sugar and tey are definitely chewier.  But maybe that's because I rolled the dough to 1 1/2 inches thick versus 1 inch as was suggested.  Hey, I like my biscuits big.

One thing to note is that my biscuits never turned golden when I baked them.  They stayed a very light cream color  Yours may, but just make sure you keep an eye of them in the oven and use another gauge of doneness other than just color.


Wednesday, July 18, 2012

Veggie Stromboli

I've had my fair share of Italian dishes, but I've yet to have stromboli.  I think I might have seen it in for sale at Sbarro (you know, that Italian chain that's always in malls) a few times though.  As a result, it's not really ever been one of those dishes I've been itching to make.  Until last week that is.

I was watching The Chew one day during lunch when Mario Batali made his version with broccoli and cauliflower.  I know that for some of you that probably sounds as appealing as refried beans from a can, but for this veggie lover it struck a chord.

Because I used pre-made pizza dough, this dish took me a total of half an hour to throw together (cooking time included).  I'm sure you could also prep this dish beforehand and pop it in the oven when you get home in the evening.

Mmmm all rolled up and tucked in.

And there isn't really a set combination of ingredients you're supposed to stuff the stromboli with.  Next time I might do chicken and pepperoni.  Who knows!

PS I'm pretty sure that stromboli is usually rolled up jelly roll style, but since Mario folded his dough over that's what I did too.


Monday, April 30, 2012

Peanut Butter Oatmeal Muffins

Happy Monday!  Have you missed me??  So sorry for the serious sketchiness around here lately.  My evenings are getting busier and busier, and I'm still working on hammering out some type of schedule that will allow me to still blog every day.  Thank you for your patience :)

Today's posts features peanut butter oatmeal muffins.  I recently created a recipe for some other oatmeal muffins that used honey, but peanut butter is one of my all time favorite guilty pleasures and I love adding it to just about anything I can get my hands on.  Including muffins.


This recipe is from the ever so lovely Paula Deen, yall.  While these muffins aren't super sweet, they are definitely filling and I found that they made a perfect breakfast option I could grab on the way out the door on busy mornings.  And because peanut butter is packed with protein I tell myself that they're healthy and filling too.  No harm in that, right?


Thursday, April 5, 2012

Banana and Honey Oat Muffins

I have been hunting for a recipe for that perfect breakfast muffin, which in my humble opinion means that it's not too sweet but still has good flavor.  Often something sweet first thing in the morning can leave me craving nothing but loads of sugar for the rest of the day.

Unfortunately (or fortunately...whichever way you look at it) most of the muffins you buy at the grocery store or at a bakery are loaded with sugar.  You're basically eating cake without icing.  Not that that would be a bad thing, but not when the goal is the get a nice healthy kick start to your day.


The recipe below is a (somewhat) healthier option I came up with.  This recipe swaps wheat flour in for white flour, uses honey instead of processed granulated sugar, and adds bananas and oats.

The hubby and I can never eat a full batch (12) of these before they go bad, so I always stick a bunch in the freezer and then pull one out at night for the next morning's breakfast.

My favorite way to eat these it to top them with a little dab (okay a nice dab) of peanut butter and stick them in the toaster for a minute or two....heaven!


Wednesday, March 28, 2012

Whole Wheat Hamburger Buns

I know hamburger buns aren't really high on most people's list of things they'd like to spend their time making for dinner, but I was curious to see just how different homemade buns would be from the packaged kind sold in stores.  Don't get me wrong, I don't discriminate when it comes to any kind of bread.....sliced bread, the bread basket at Red Lobster, breakfast breads.....and I've certainly never turned my nose up at packaged buns.  But since I had the time I thought I'd give these a shot.


And as much as I hate to admit it, I LOVED these.  Their texture is very different (in a good way) and they have a lot more flavor.

Yes, they require more time than simply removing the twist tie from a plastic bag, but if you can spare the time I would highly recommend it.  I know it's not highly likely that these would be made on a busy weeknight, but you can always make them on the weekend since they keep fresh.  Or you can make the dough and freeze it until you're ready to use it.

The original recipe called for all purpose flour, but I used wheat flour and actually believe it added to the flavor of these buns.  I also decreased the amount of flour from what was called for.  I found that the original quantity (5 1/2 C) was way too much and made the dough really dry and hard to work with.

These buns can be paired with any type of meat (beef, turkey, salmon, etc), but I made turkey patties to go with them.  I'll post those tomorrow, so make sure to check back!


Wednesday, February 22, 2012

Southern Buttermilk Cat Head Biscuits

Wait, WHAT?!  Cat head biscuits?  Yep, you read that right.  Cat head biscuits.  If you're from the south you've probably heard of these.  If you're not, then I'll bring you up to speed.

Cat head biscuits are named as such because the biscuits are as big as a cat's head.  Why a cat head as the size comparison?  Well that I'm not sure of.  But the point is that these biscuits are BIG.  Big and fluffy.  They don't taste any different, per se, but rather it's simply the size of them that warrants the name.

My grandmother has always made wonderful biscuits, but it was always a bit hard for me to learn how to replicate them because she never measured anything.  "Just add milk until it looks right", she would always say.  Sigh.  You know someone is a good cook when they never whip out a measuring spoon or cup.

But luckily for me (and you), I found a trusty recipe which I have shared below.  The only thing I would do different next time is that I would use lard in place of the shortening.  You can buy lard in the same section as Crisco and it makes the biscuits much fluffier and provides a better taste in my opinion.

Oh, and I would also have made 5 biscuits instead of 6.  These were large and fluffy, but I would do them even bigger.  And maybe add some bacon, an egg and a slice of cheese :)  I'll remake them with these edits sometime soon and post a comparison.


Buttermilk Cat Head Biscuits
1 1/2 C all purpose flour
1 1/2 C cake flour
1 Tbsp baking powder
1/2 tsp baking soda
1 tsp salt
8 Tbsp (1 stick) unsalted butter, softened and cut into 1/2 inch pieces
4 Tbsp shortening, cut into 1/2 inch pieces
1 1/4 C buttermilk

Adjust oven rack to upper middle position and preheat to 425 degrees.  Grease 9 inch cake pan.

Combine flours, baking powder, baking soda and salt in bowl.  Cut butter and shortening into mixture until it resembles coarse cornmeal.  Stir in buttermilk until combined.


Carefully form biscuits.  You should end up with six.  Make sure not to pat them too flat either so that they will fluff up.

Arrange 5 biscuits around perimeter of pan and place one in the middle.  The biscuits will be touching, but you want them this way so that they will cook up rather than out.

Look!  They love each other.

Bake until puffed and golden brown, approximately 20-25 minutes.  *I also brushed some melted butter on mine when they had about 5 minutes to go.*  Allow to cool for 10 minutes in pan before removing.

Fluffy, buttery deliciousness

Biscuits will keep for 2 days in air tight container.

Monday, February 20, 2012

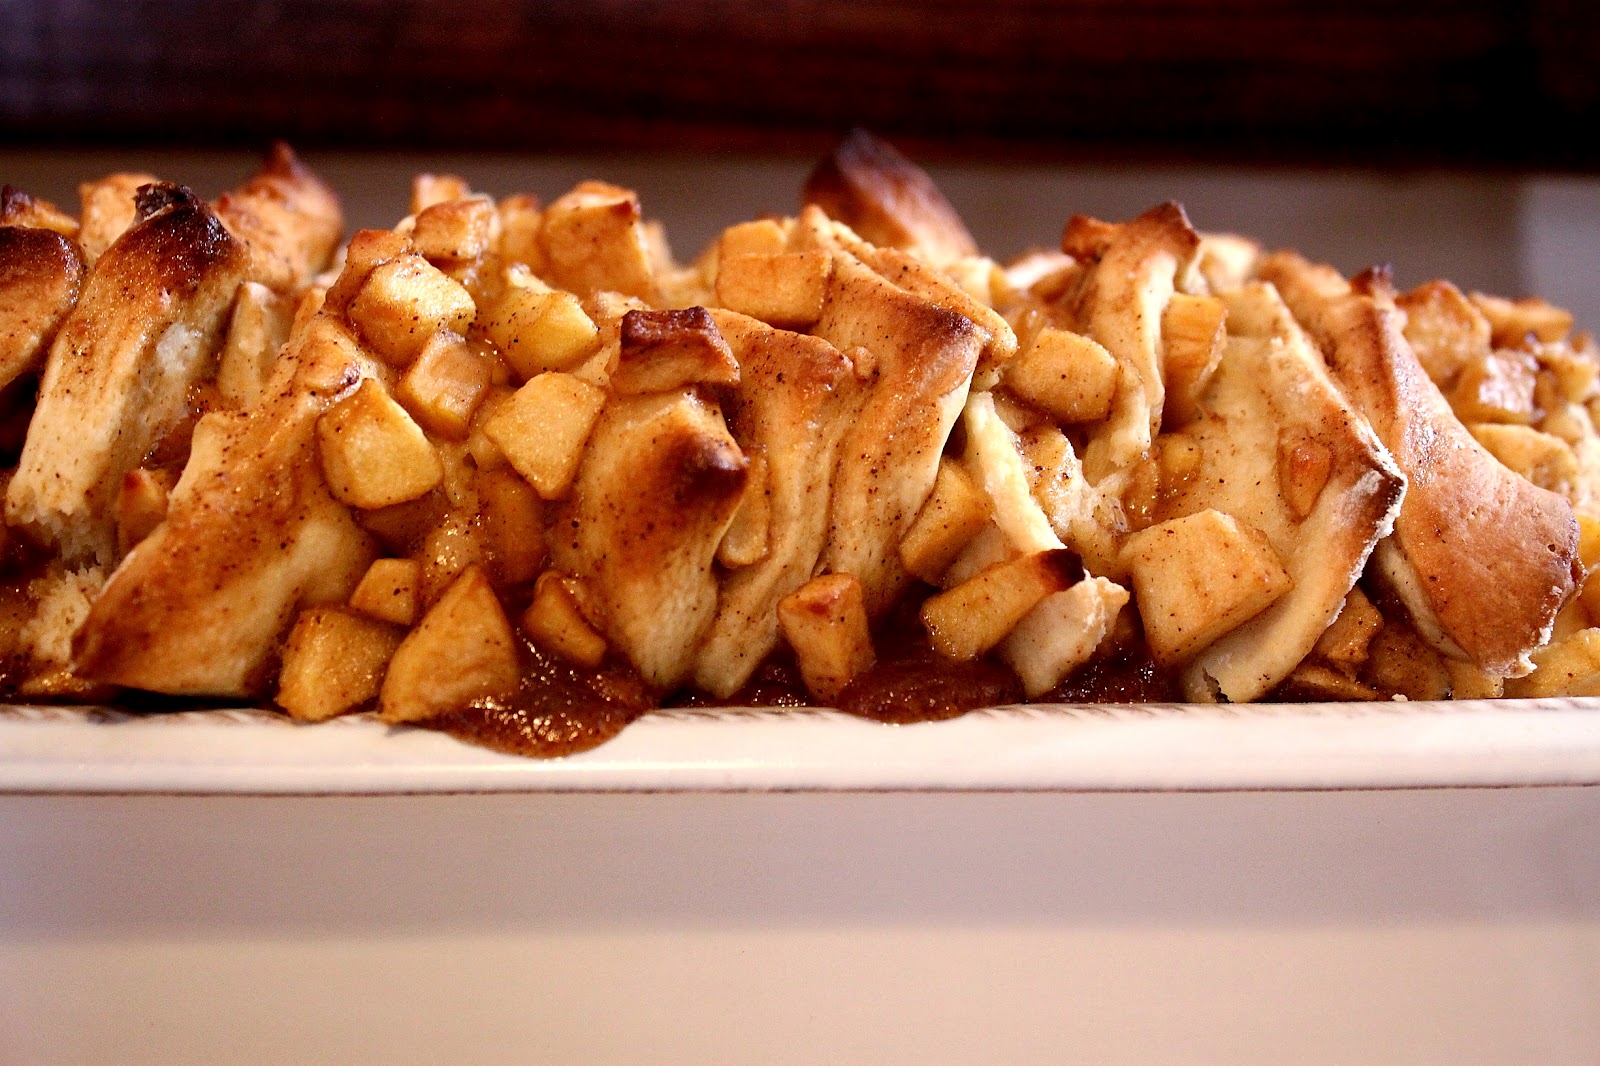
Apple Fritter Bread

I was going to blog this amazing apple fritter bread last week, but figured it was much more fitting to share some Valentine's Day recipes with you.  We had an entire bowl full of nice, crisp organic apples sitting in the kitchen, and I knew that there was no way that just Trey and I could eat them all before they went bad.  What to do.......That's when I remembered this apple fritter bread I had mentioned in one of my Friday Links posts.

This is a yeast bread that (oddly enough) does not have to sit and rise.  It's a somewhat time consuming process still, though, because the dough must be cut into squares and stacked.  But oh my dear is it worth it!  Dare I say this is one of my favorite things I've ever made?  I think so.

Sitting there in all it's glory with glaze still 
dripping off of it...sigh

I'm sure you could also substitute other fruits for the apples depending on what you have on hand.  Next time I might try peaches.

Apple Fritter Bread adapted from Flour Me with Love
Dough
3 C flour
1 package instant yeast (it also might say "bread machine yeast")
1/4 tsp salt
1/2 C brown sugar
1/4 C water
1 egg, beaten
3/4 C milk
1/4 C butter

Filling
6 apples, peeled and diced
1 Tbsp lemon juice
1 C brown sugar
1 tsp vanilla
2 Tbsp butter
1 Tbsp cornstarch

Glaze
1 Tbsp butter, softened
1 tsp vanilla
3/4 C powdered sugar
3 tsp half and half (or milk)

Preheat oven to 350 degrees and grease 9x5 bread pan.  In skillet, cook all "filling" ingredients until mixture is thickened.  Set aside to cool.

Apples peeled and ready for dicing 


Thickening the mixture...

Heat milk (from "dough" portion of recipe) in a small saucepan until it bubbles.  Remove from heat and add butter.  Stir until melted and combined.  Set aside to cool.  

Put flour, yeast, brown sugar, and salt into bowl of a stand mixer and mix well by hand.  *Note: I was very confused by the orignal recipe, because normally you have to let yeast bread rise.  Not the case with this bread.  Just follow the rest of the recipe as stated and then you can immediately stick the prepared bread in the oven.  No rising time required!*

Add water, egg and milk/butter mixture to flour mixture.  Make sure that the milk/butter mixture has cooled enough so that it doesn't cook the egg!

With the hook attachment in place on your stand mixer, mix dough until it forms a ball.  Knead in stand mixer for an additional 5 minutes.

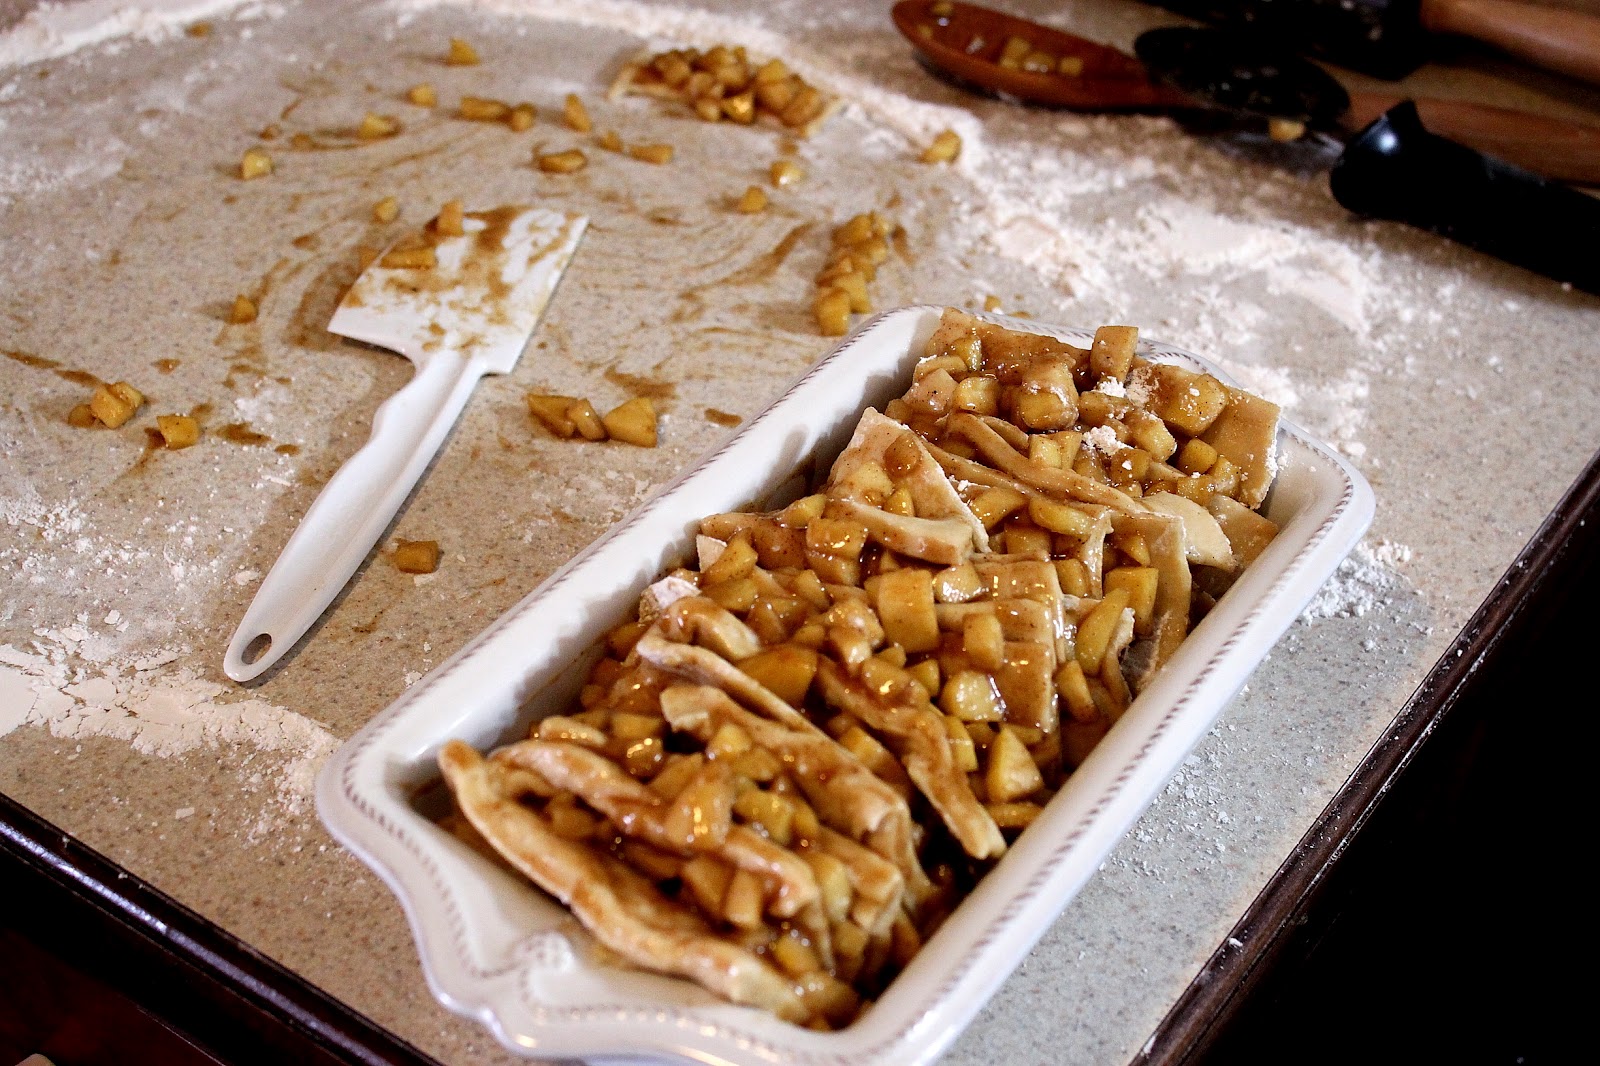
On well floured surface roll dough out into rectangle shape.  The dough should be fairly thin after being rolled out.  Evenly spread apple mixture over dough, making sure to spread mixture evenly.

Well, it's sort of a rectangle.


Cut dough into even squares (I got twenty).  To make this easier I used a pizza slicer.

Carefully stack dough squares onto each other, forming 5 piles.  Using a spatula makes this SO much easier!


Place piles of dough into prepared pan.


Ready to bake!


Bake 45-50 minutes or until golden brown.  The only tricky part is making sure the middle is done without getting the edges of the bread overly done.

I'd like to also note that you need to make sure you don't leave an additional oven rack too close above your bread like I did....

Oops!

Delicious.  Check out that cinnamon and brown
sugar bubbling over the sides...

Immediately remove bread from pan.

Mix butter, powdered sugar and vanilla in a bowl (*make sure your butter is soft enough or it won't combine well).  Gradually add in half and half until you reach creamy consistency.

Pour on glaze and allow to set for a few minutes.

Drip, drip, drip....

Enjoy!  This stuff is DIVINE when eaten warm :)

Pulling it apart....

or just taking a fork and digging in!


If you want to store the bread simply wrap in plastic wrap and then place in a zip loc bag.


Tuesday, January 17, 2012

Banana Sour Cream Bread

Hi there!  Can you believe I've logged 7 posts in 14 days?  Yeah, me neither.  This was my intention all along....regular, frequent posts.  However, life kind of got in the way and things didn't turn out as planned. I'm getting married in just 11 short days, so there will definitely be about a week and a half there with no posts.  However, when I get back from the honeymoon I plan on sharing all of the yummy meals I'll be whipping up for my hubby on a (hopefully) nightly basis.

Today I bring you my favorite banana sour cream bread.  I actually made this bread over a year ago, but just this morning stumbled across the photos and realized I had never blogged the recipe.  This bread is absolutely divine, with a great deal of yummy banana flavor, plenty of moistness (is that a word?) from the sour cream, and a nice crunch on top compliments of the walnuts.

The funny thing is that I absolute hate bananas.  I couldn't eat one if you tried to force me.  I think it's a texture thing though, and doesn't have as much to do with the actual taste.  Oddly enough, I love banana bread.  And hopefully you do too!


The only thing I will say is that the consistency is more like that of a cake than that of a quick bread.  Most banana bread is very dense, with so much moisture it's almost as if it's a bit wet.  But this bread is very light and fluffy.  Heavy on flavor, but still light.  If you're good with that, then this recipe will be right on the money.

Banana Sour Cream Bread
1/4 C white sugar
1 tsp ground cinnamon

3/4 C butter
3 C white sugar
3 eggs
6 very ripe bananas, mashed
1 (16 oz) container sour cream
2 tsp vanilla extract
2 tsp ground cinnamon
1/2 tsp salt
3 tsp baking soda
4 1/2 C all purpose flour
1 C chipped walnuts

Preheat oven to 300 degrees.  Grease four 7x3 inch loaf pans.  Mix first two ingredients and dust pans lightly with sugar and cinnamon mixture.

In large bowl, cream butter and 3 cups sugar.  Mix in eggs, bananas, sour cream, vanilla and cinnamon.  Mix in salt, baking soda and flour.  Stir in nuts and divide into prepared pans.

Mashing the 'naners....

At this point I also added some extra walnuts and cinnamon/sugar mixture on top.  Just for good measure :)
See the extra walnuts on top?

*Tip: To keep the nuts from sinking strait to the bottom of the bread pans, coat them lightly in flour.  Any time I add anything like chocolate chips or nuts to a recipe I always place them in a cup with a little bit of flour and toss to coat.  It solves the "sinking" problem like no other!

Bake for 1 hour or until toothpick inserted comes out clean.

Deliciousness


Wednesday, October 5, 2011

Parmesan Garlic Knots

Today I bring you these amazing Parmesan Garlic Knots.  I'm pretty sure I haven't been this excited to share a recipe in quite a while.  They are simply to.die.for and are highly addictive.

I discovered the recipe while sifting through Pinterest.  FYI:  If you haven't already discovered Pinterest STAY AWAY!! You will get sucked in and any productivity you previously possessed will poof into oblivion.   But if you would still like to check it out you can do so here.  But don't say I didn't warn you.

This recipe takes canned biscuit mix and doctors it up, and voila!  You have delicious, incredibly flavorful dinner "rolls".  The best part is that it only takes about 5 minutes to prep.  But because they turn out so lovely everyone thinks you slaved away in the kitchen making them :)

Parmesan Garlic Knots
1 tube refrigerated buttermilk biscuits
1/4 cup canola oil
3 tbsp grated Parmesan cheese
1/2 tsp garlic powder
1 tsp dried oregano
1 tsp dried parsley flakes

Roll each biscuit into a rope and tie into a knot.  Tuck the ends under.

The steps to make the knots....easy as pie.

Combine all remaining ingredients and brush knots with mixture.  Bake knots according the packaging instructions.  If desired, brush them with any remaining mixture after baking.


ENJOY!! :)