Spaghetti was one of my favorite meals my mom fixed growing up. When she would announce that spaghetti was what we were going to have for dinner that night I would literally stay excited about it all day. Lame, I know.
But even still, when I eat spaghetti I think of home and the way my mom used to make it. I remember she would always ask either my sister or me to stir the meat sauce while it cooked, though I'm still not sure if it really needed to be stirred or if she was just lovingly making sure that we felt like we were helping make dinner.
I'll want to feature the classic spaghetti with marinara sauce at some point, but today I'm bringing you a healthy version of this dish. Healthy can sadly often equal a lighter version which doesn't have near the flavor, but not this time. Pesto sauce gives whole wheat noodles a nice punch while turkey, cranberries and feta cheese come together to form the scrumptious meatballs.
It's definitely different than the traditional version, but I'm willing to bet you'll love this dish as much as I do once you give it a shot. Plus, it's absolutely packed with healthy vitamins and nutrients, so don't feel bad about helping yourself to another bowl :)
My favorite photo OF ALL TIME! I tried to
put the camera on the floor to get another angle and
Ellie came running licking her lips :)
PS So sorry for the lack of pictures in this post! I had a finger print smudge on the lens and so most of the earlier photos of the meal prep are fuzzy.
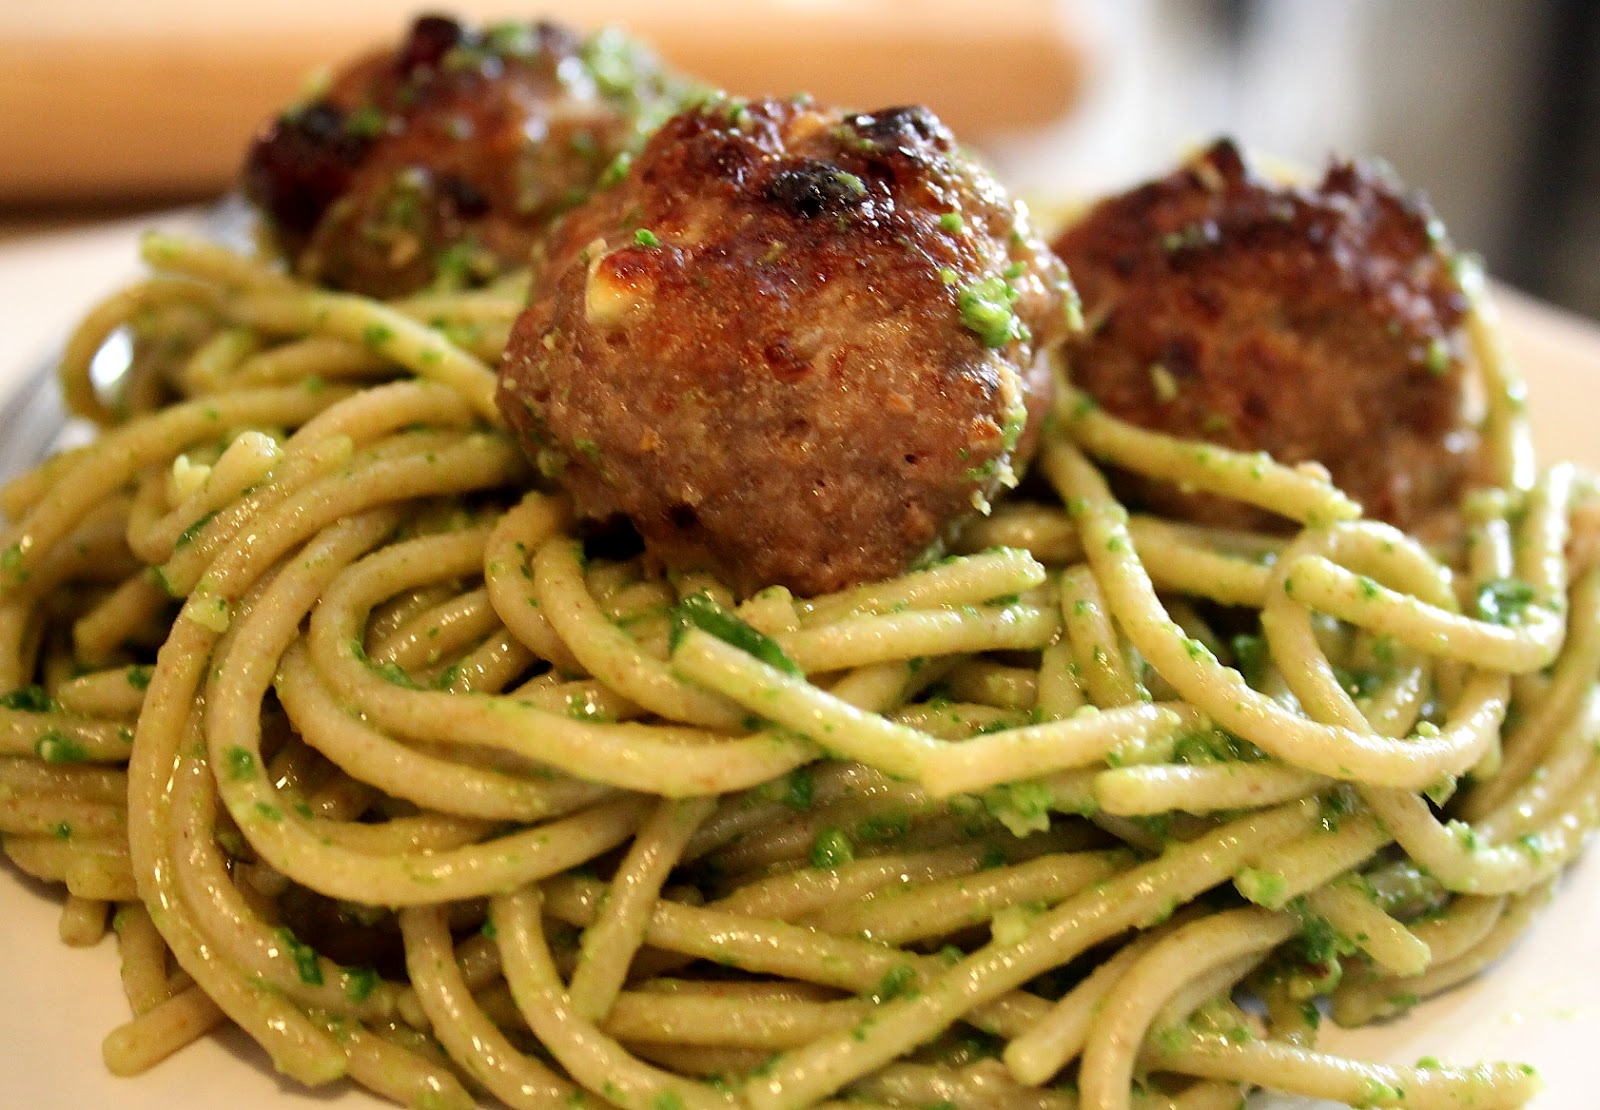
Spaghetti with Spinach Pesto and Turkey Meatballs from Inspired Taste
Spaghetti noodles, cooked and drained (I went with wheat noodles)
Spinach Pesto
2 C baby spinach leaves
2-3 cloves garlic (depending on how spicy you want it)
1/4 C toasted walnuts
1/4 C olive oil
1/4 C grated parmesan cheese
1/8 tsp salt
freshly ground black pepper, to taste
Turkey Meatballs
1 lb ground turkey meat
1 1/2 slices fresh bread, crusts removed, pulsed into crumbs (I used boxed breadcrumbs to save time)
1/4 C finely chopped onion
2 large cloves garlic, minced
1/4 C Marsala wine
2 tbsp diced dried apricots (I omitted these, but I'm sure they would add great flavor)
2 tbsp diced dried cranberries
2 tbsp chopped baby spinach leaves
2 tbsp crumbled feta cheese
1 egg, lightly beaten
1/2 tsp salt
freshly ground black pepper, to taste
Make sure to give the noodles enough time to cook thoroughly during this process. I'm only saying this because I forgot them until the very end :)
For the pesto.....Use a knife to roughly chop garlic, then add to a food processor. Add walnuts and pulse a few times. Add spinach and pulse a couple more times. Slowly drizzle in the olive oil until mixture comes together. Remove pesto from food processor and add cheese, salt and pepper. Stir to combine. Serve over hot pasta using a little pasta water to loosen sauce slightly if needed.
For the meatballs.....Preheat broiler and spray baking sheet with non-stick cooking spray.
- In small bowl, pour wine over diced dried apricots and cranberries, then set aside for 5-10 minutes.
- In medium frying pan over medium heat, saute the onions and garlic until the onions are translucent, about 6 minutes. Make sure not to burn the garlic!
- Combine turkey with all other ingredients, including apricots, cranberries, wine and garlic/onion mixture in large work bowl. Try not to overmix the mixture; over-mixing will make the meatballs tough and dry. Lightly form mixture into 1-inch balls and place them on a baking sheet. Put them under the broiler on a middle rack for about 15 minutes.
- *You should stay close to the oven while the meatballs are cooking since they can easily burn. You may need to raise the meatballs to a higher rack at the end of the process to brown the tops and to ensure the meatballs are cooked through.
Add the pesto to the hot noodles and toss in meatballs. If needed, add a little water to the pest sauce to loosen. Serve immediately.
This meal will stay fresh for about 3 days in the fridge.