Tuesday, March 29, 2011

Foodbuzz Featured Publisher

I have some exciting news.....Confections of the Cody Kitchen is now part of the Foodbuzz Featured Publisher program!!!  Foodbuzz is a food blogging community that I am so happy to now be a part of.  Learn more about Foodbuzz here.


In other news, I will be continuing to post some of the recipes I mentioned last week.  Southwestern egg rolls, meatball sliders and queso dip will all be making an appearance on here in the very near future.  I am leaving for the beach tomorrow but will try to update the blog at least twice while I am gone.  I'm also sure that some of the yummy seafood I eat will serve as an inspiration for future posts :)

Cheers!

Thursday, March 24, 2011

Spicy Lemon Garlic Shrimp

Seafood is my absolute favorite, especially shrimp!  This dish is a slightly different take on shrimp scampi and couldn't be easier.  Prep takes about 5 minutes and then you simply plop these beauties on a plate after they take a short nap in the oven.

This recipe came from The Pioneer Woman Cooks, so of course I knew it would be amazing!  Just make sure to leave the shells on to lock in the flavor.

Spicy Lemon Garlic Shrimp
2 lbs raw Shrimp, deveined, shells on (I used frozen)
2 Sticks Unsalted Butter, cut into pieces
1 tsp Kosher Salt
4 Cloves Garlic, Minced
1/4 C Fresh Parsley
1/2 tsp Crushed Red Pepper
1 Lemon

Preheat oven to 375 F.  Place shrimp in single layer on baking sheet.  (Mine went straight out of the freezer bag to the pan)  Scatter pats of butter evenly over shrimp.  Sprinkle with salt, garlic, parsley and red pepper.  Cut lemon in half and squeeze juice over shrimp.


Butter makes everything better

Bake until shrimp is opaque, 20-25 minutes.


Make sure to pour all of the yummy buttery mixture back over the shrimp when you plate them.  

Mmmmmm

Tuesday, March 22, 2011

Cowboy Caviar

Chips and salsa is great, but sometimes you want to take things up a notch.  This cowboy caviar is basically a more substantial salsa which incorporates a few more flavors.  Of course there are tomatoes, but there are also black eyed peas and corn.  What you get is an incredibly "fresh" tasting salsa that is both healthy and addicting.

Probably my favorite thing about cowboy caviar is that it can be made a day before, and honestly probably tastes better this way because then the flavors really have time to meld.

Grab a big bag of tostitos and enjoy!

Cowboy Caviar
2 (15.8 oz) cans black eyed peas, drained and rinsed
2 medium jalapenos, seeded and minced
1 small onion, diced
1/2 green bell pepper, seeded and diced
1/4 C chopped fresh cilantro
1 (15.8 oz) can corn
3 pints cherry tomatoes, diced (canned diced tomatoes may also be used)
6 tbsp red wine vinegar
6 tbsp extra virgin olive oil
1/2 tsp salt
1/2 tsp ground black pepper
1/2 tsp garlic powder
1 tsp dried oregano
1 1/2 tsp ground cumin

Combine all ingredients and refrigerate at least 2 hours prior to serving.  Adjust seasoning to taste.


Yep, that's it! The most time consuming part is cutting up the vegetables.

You can also play around with the ingredients if you wish, adding red bell peppers or avocado for instance.  There really is no "wrong" way to make this.

What's your favorite item to pair with chips?

Monday, March 21, 2011

Brown Sugar Smokies

Today was an incredibly full day, but I had to squeeze in this one post before I hit the sheets.  But only because it's so good, yet so so easy!  This appetizer is always the biggest hit any time it is served, yet it's always the easiest thing I make.  Needless to say, it's a win win.

A word to the wise: if you make these once you're basically agreeing to make them for every get together for the next 10 years....they really are that good!  For a party of 20 people I did 3 times the recipe below and they STILL were all gobbled down.

Brown Sugar Smokies
1 lb bacon
1 16-oz package smokie sausages
Brown Sugar, to taste

Preheat oven to 350 F.  Pull all bacon out of package and slice strips into thirds.  Wrap one small bacon strip around each smokie.  Secure with tooth pick.  Sprinkle liberally with brown sugar (I probably do a little too much).

*Tip:  Wrap the smokies the night prior, refrigerate, and then all you have to do
is pop them in the oven right before your guests arrive.


Bake approximately 20 minutes, or until sugar is melted and bacon is crispy.

Our First Award!!

I was in line at Publix today picking up lunch for me and some coworker friends and decided to use the spare time to catch up on Facebook statuses (I know you do it too, so don't judge).  I log in to find that I've received a blogger award from a sweet friend whose blog I happen to equally love :)  How exciting!


 The rules state that I must list out 7 fun facts about myself and then pass along the award to 3 other deserving bloggers.  Here it goes...

1. I have no aunts, uncles or first cousins.  Both of my parents are only children.  Some might think I am missing out by not having such family members as a part of my life, but I look at it as me not having to share either set of my grandparents with anyone...I'm a bit selfish with them :)

2. I hate for my foods to touch.  If I'm eating foods that "run" (i.e. green beans with the nice yummy juice), then I either need a sectioned plate like you would give a two year old, or I will space these foods far apart and wipe up any excess juice compulsively with a napkin.

3. I started out high school at 4'11".  This may not seem like an odd fact unless you know me personally and know that I stand at 5 feet 8 inches now.  I grew over 7 inches in one year and began sophomore year at 5'8".  Needless to say it was very hard to keep a pair of pants on me that didn't look like high waters within about 2 months.

4. One of my eyes squints significantly more than the other when I smile.  If I don't make a conscious effort to squeeze the other eye more and also relax the "squintier" one,  then my face looks lopsided in pictures.  

5. Our family has an inside rabbit named Mopsy who is potty trained.  He roams freely around the house and then scratches on the door to go outside to take care of business.  Then he scratches to be let back in.  He's precious!

6.  Speaking of Mopsy, we thought he was a "she" when we first got him.  I was home last summer and discovered two large knots near his nether regions.  My mom and I were all distraught because we thought our poor girl had cancerous tumors.  However, imagine my sock and embarrassment when I took Mopsy to the vet to find out that those lumps were not tumors.....and that "she" was a "he".  I'll let you fill in the missing links......

7. My love for cooking began when I was about 4 or 5.  I used to go to my Mimi's house and fix bread for the squirrels.  Yes, bread for the squirrels.  I would dump everything I could find in a bowl, add some berries from the yard (which were probably poisonous), bake it and then dump it out under the tree in my grandparents' back yard for the squirrels to eat.  I was convinced they were hungry.

How is that for 7 facts?  I'm passing this award on to these 4 well deserving bloggers listed below....congrats! Yes, I know you're only supposed to do 3, but I couldn't pick.


Last but not least, don't forget to check out Jessamie's blog Bird and Branch Redesign here!  She has some amazing pieces and is so talented.  Enjoy!

Sunday, March 20, 2011

Stay Tuned!

Stay tuned for lots of new posts this week!  My boyfriend and I had a March Madness party this weekend, so I'll be featuring several of those recipes.

On the menu:
-Meatball Sliders with Provolone
-Pork Tenderloin
-Texas Caviar
-Queso Blanco Dip
-Southwestern Egg Rolls
-Brown Sugar Smokies
-Spicy Lemon Garlic Shrimp

What do you enjoy serving your guests?  Do you enjoy sit down dinner parties with fewer choices, or do you gravitate towards "finger foods" that guests snack on throughout the night?

Thursday, March 17, 2011

Irish Car Bomb Cupcakes

I had seen these Irish Car Bomb Cupcakes on several blogs last year for St. Patrick's Day but never got around to making them.  I figured that after thinking about them for roughly a year it was about time I whipped up a batch.  These cupcakes are based on the Irish Car Bomb drink......a shot glass of 1/2 Irish whiskey and 1/2 Baileys Irish Cream are dropped (like a bomb) into a 3/4 pint glass of Guinness.  The drink must be quickly chugged before it begins to curdle.  Beer does nothing for me, so I was a bit wary of this confection.  Really, Guinness in chocolate cake?  But I figured I'd give it a shot.

These cupcakes consist of a rich chocolate base containing Guinness stout, an Irish whiskey ganache filling and a rich Bailey's Irish Cream infused buttercream frosting.  Sounds yummy, huh?

While these definitely aren't cupcakes you want to take to a preschool birthday party or whip up just because you're bored (the ingredients get pretty darn pricey), they are sure to be a hit!  I gave up sweets for lent (please remind me why I did this to myself again?), so I couldn't eat a full cupcake.  I did, however, take one bite just to be sure I wasn't taking something nasty to share with my office friends.  No worries though, I spit it out so that I would ACTUALLY be eating it....I just had to get a taste :)  YUM!!! 

Irish Car Bomb Cupcakes
Adapted from Brown Eyed Baker

For the Cupcakes:
1 C Guinness stout
1 C Unsalted butter, at room temp
3/4 C Dutch process cocoa powder (*If you can't find any just use Hershey's dark chocolate)
2 C All purpose flour, sifted
2 C Sugar
1 1/2 tsp Baking soda
3/4 tsp Salt
2 eggs
2/3 C Sour cream

For the Whiskey Ganache Filling:
8 ounces Bittersweet chocolate
2/3 C Heavy cream
2 tbsp butter, at room temp
2 tsp Irish whiskey

For the Baileys Frosting:
2 C Unsalted butter, at room temp
5 C Powdered sugar
5 tbsp Baileys Irish cream

To make the cupcakes: Preheat oven to 350 degrees F.  Line 24 cup tin with liners.  Bring Guinness and butter to simmer in saucepan over medium heat.  Add cocoa powder and whisk until mixture is smooth.  Cool slightly
*I did notice that the mixture seemed to begin to separate if I didn't keep whisking it

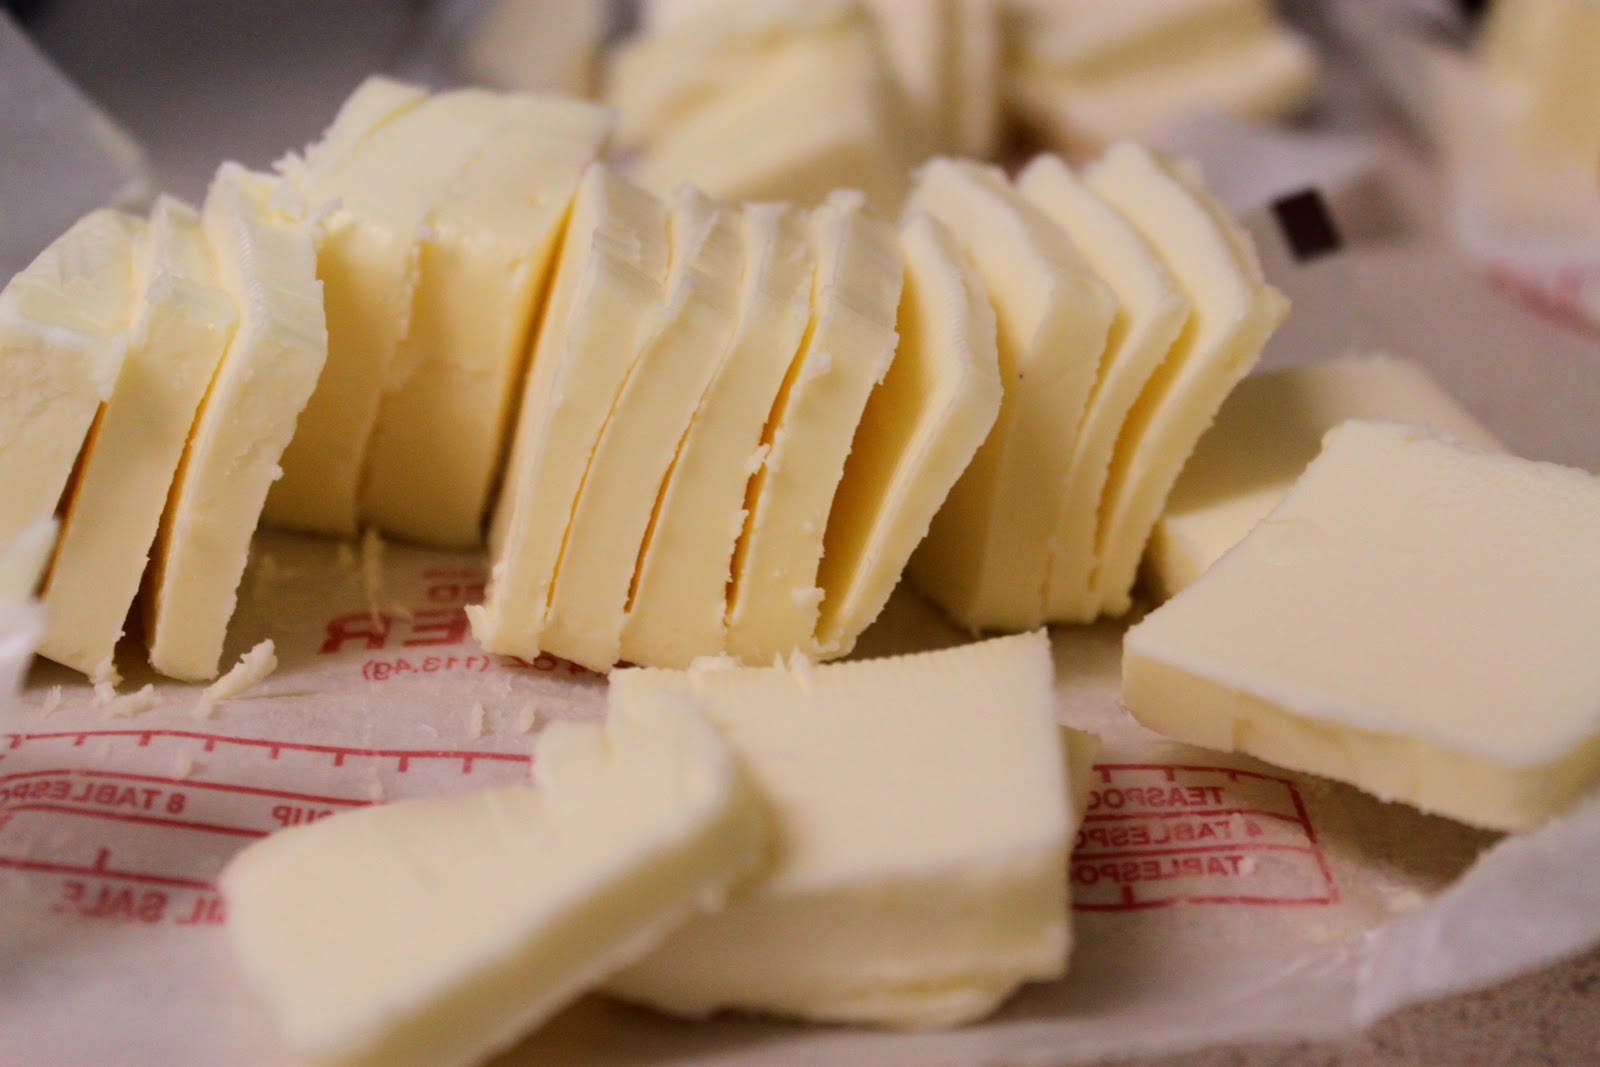
Tip:  To bring the butter to room temp faster, cut it into slices.

Beer and Butter

Whisk flour, sugar, baking soda and salt in large bowl to combine.  Using an electric mixture, beat eggs and sour cream on medium speed until combined.  Add Guinness mixture to egg mixture and beat to just combine.  Reduce speed to low, add flour mixture slowly and beat briefly.  Using rubber spatula, fold batter until completely combined.  Divide batter among cupcake liners.  Bake until knife inserted into center comes out clean, 15-17 minutes.  Be careful to not over bake!  Cool cupcakes on rack.

Don't panic if the batter is super runny.  Mine was...it looked like I had tried to splatter 
paint trying to get the batter in the liners....

But alas, the batter fluffs right up!

To make whiskey ganache filling:  Finely chop chocolate and transfer to heatproof bowl.  Heat cream until simmering and pour over chocolate.  Let sit one minute.  Using rubber spatula, stir from the center outward until smooth.  Add butter and whiskey and stir until combined.  Let ganache cool until thick, but still soft enough to be piped.


To fill the cupcakes: Fit disposable piping bag with small open tip and coupler.  Fill bag with ganache.  Stick piping tip completely into cupcake and fill with ganache.  Pull piping bag gradually out of cupcake as you fill.
*The filling can be done a variety of ways.  You can also use the cone method or simply cut a hole in each cupcake.

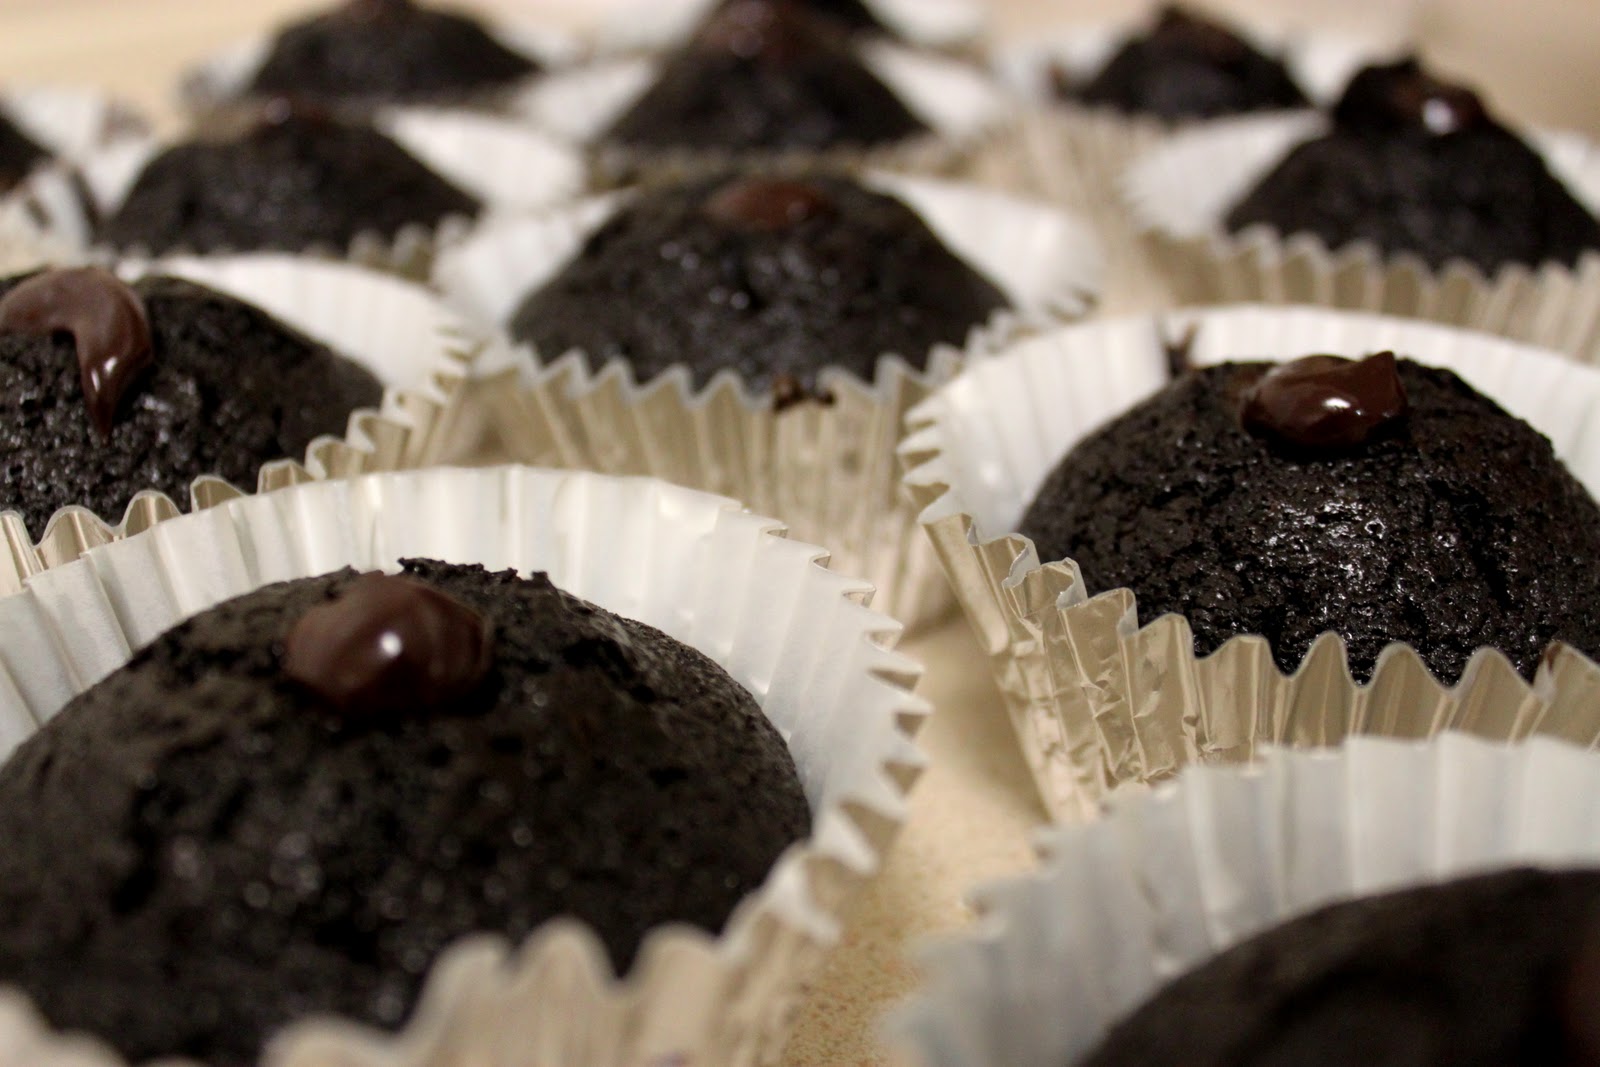
The filling peaking out

To make Baileys frosting:  Using whisk attachment of stand mixer, whip butter on medium-high speed for 5 minutes, scraping sides of bowl occasionally.  Reduce speed to medium-low and gradually add powdered sugar until it is all incorporated.  Add Baileys, increase speed to medium-high and whip for additional 2-3 minutes until light and fluffy.

Use favorite decorating tip to frost cupcakes.  Store in air tight container.


And just so you get an idea of what that gooey ganache filling looks like...


Happy St. Patrick's Day!!


Sunday, March 13, 2011

Turkey Burgers with a Twist

While I love turkey burgers, they do have a tendency to be somewhat bland.  They're definitely a healthier option, but I always end up thinking of the full on beef burger when I'm eating one.  For these burgers I added spinach, feta and sun dried tomatoes to really pack in the flavor.

Don't worry if you don't have access to a grill...I cooked this in a large sauce pan over the stove.  They're quick, easy, tasty and (best of all) healthy!

Spinach and Feta Turkey Burgers
1 lb ground turkey
2 tbsp olive oil
1 tsp minced garlic
4 cups spinach
1 egg
1/2 tsp salt
1/3 tsp pepper
1/2 tsp Dash seasoning
2 tbsp feta cheese
2 heaping tbsp sun dried tomatoes (*These come packed in olive oil, so drain first)

The Cast

Heat 1 tbsp olive oil over medium heat.  Add garlic and cook one minute.  Add spinach and cook down, approximately 3 minutes.  Set spinach aside in bowl and cool (I stick mine in the freezer for a few minutes to speed the process).


Once spinach is cooled add remaining ingredients.  Stir well to combine.  Form 4 patties from mixture.  *The only hard thing about adding the egg was that it made the mixture very wet and somewhat difficult to work with.  Just work carefully with the patties so they don't fall apart*


Heat remaining olive oil over medium heat.  Cook 2 patties at a time, as to not overcrowd the pan.  Cook burgers 4 1/2 minutes on each side, or until cooked throughout.  One tricky thing about turkey burgers is making sure that they are cooked through, but that they also don't turn out dry.  Make sure to keep the heat on medium....the burgers could slower, but more evenly.


Enjoy!  I ate mine without a bun or toppings, but feel free to dress this up as you wish.  A whole wheat bun and a nice big slice of provolone cheese would be wonderful!

Going, going, gone!

What is your favorite non-beef burger?

Thursday, March 3, 2011

Spinach, Prosciutto and Provolone Stuffed Pork Chops

The Attic in Clarkesville is one of my absolute favorite restaurants!  Whenever I go back home I always enjoy heading to this cozy restaurant to enjoy my regular dish of stuffed pork chops.  They never disappoint.  These pork chops are stuffed with spinach, cheese and prosciutto and are smothered in a blackberry sauce.  Simply put, this dish is to die for.

I have been thinking of trying to re-create these for quite some time but have always been intimidated by the thought of just how daunting such a dish must be to make.  But surprisingly, these stuffed pork chops were done (prepped and cooked) in about 30 minutes.  The trick is searing the meat before baking it, which drastically cuts down on the baking time.  If these pork chops were not seared first they would have to cook for 1 hour or more.

The only thing I did not do was make a blackberry sauce, which I now regret.  And while these pork chops turned out quite tasty, I definitely missed this special sauce.  Next time.

Stuffed Pork Chops
2 Thick Cut Pork Chops (It should say "for stuffing" on the package)
2 C Spinach
2 Slices Provolone Cheese
3 Slices Prosciutto
1/4 tsp Italian Seasoning
1 Clove Garlic
1 1/2 tbsp Olive Oil
1/4 tsp Salt, plus more for taste
1/8 tsp pepper, plus more for taste

Preheat oven to 400 degrees.  First prep the pork chops.  Lay pork chops on flat working surface and make a slit horizontally to create a pocket for stuffing.  Cut all the way into the chop so that you have plenty of room to stuff it with all the good stuff!  Salt and pepper each side and set chops aside.  

Place 1/2 tbsp olive oil in large saucepan over medium heat.  Add garlic and cook 1 minute, stirring occasionally.  Add spinach, Italian Seasoning, 1/4 tsp salt and 1/8 tsp pepper.  Cook until completely wilted down, approximately 2 minutes.  Toss spinach during process to ensure even cooking.  Remove spinach and let cool.

It will look like too much spinach at first....

After it has cooked down

Place prosciutto on working surface and cut into small strips.  Combine with spinach.  Lay slices of provolone out and spoon half of spinach/prosciutto mixture onto each slice.  Close each slice of provolone (kind of make a taco shape) over mixture and insert into slits in chops.  Make sure to insert the open side of the provolone "taco" into the chop first.  This will help hold the mixture in during the cooking process.

Stuffed and ready to be seared

Heat remaining olive oil in large saucepan over medium-high heat.  Place both pork chops in saucepan and sear on each side for approximately 4 1/2 minutes.  *Be careful when turning the pork chops or all of the stuffing will fall out.  They should have a nice golden brown color.  This will help seal in the flavor.


Place pork chops in greased baking dish and bake for 10-15 minutes.  Be careful to not overcook or the pork chops will be dry.


Enjoy!  You may alter the amounts of the spinach, provolone and prosciutto depending on your tastes.